
Last updated September 20, 2026
Full 25-point door and opener safety check with every visit - springs, cables, rollers, tracks, and your LiftMaster or Chamberlain opener included
You get a price before we start. It does not change when the truck arrives.
 Before
 After
After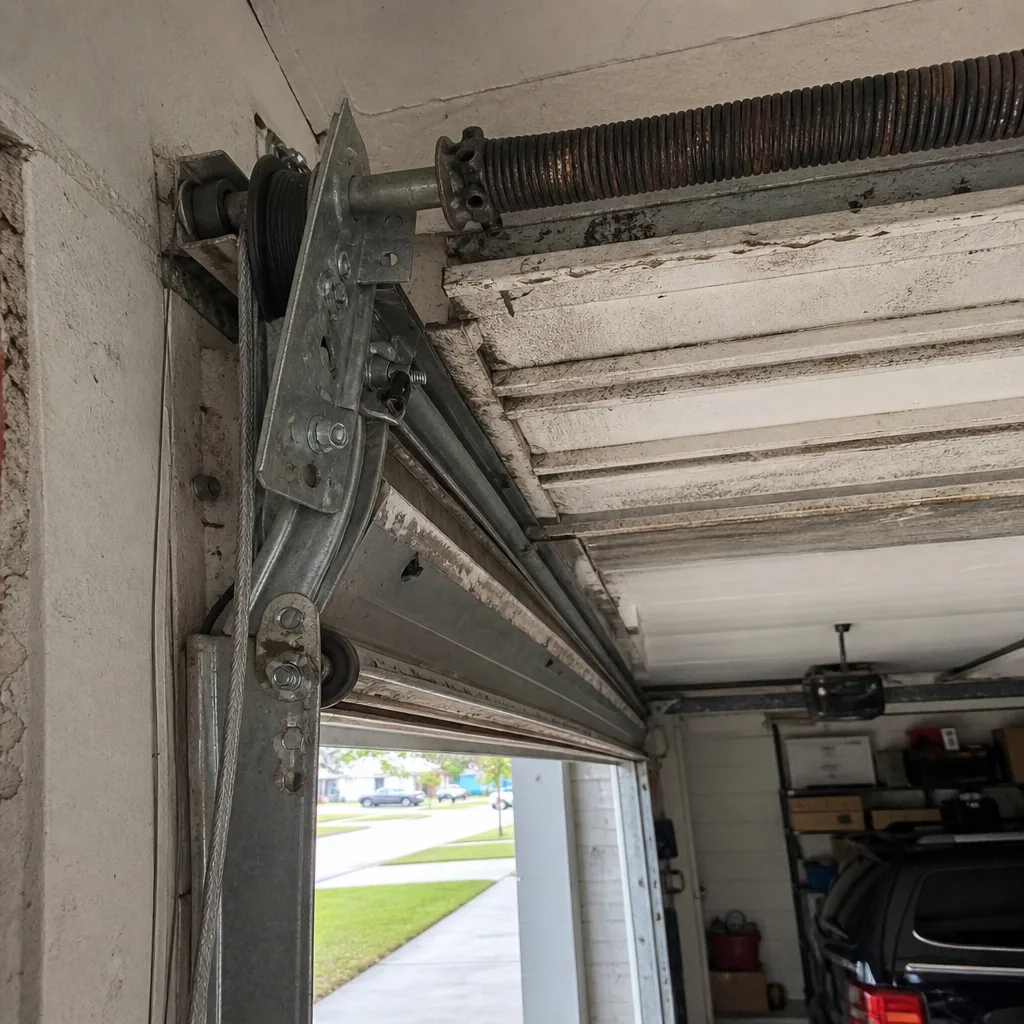 Before
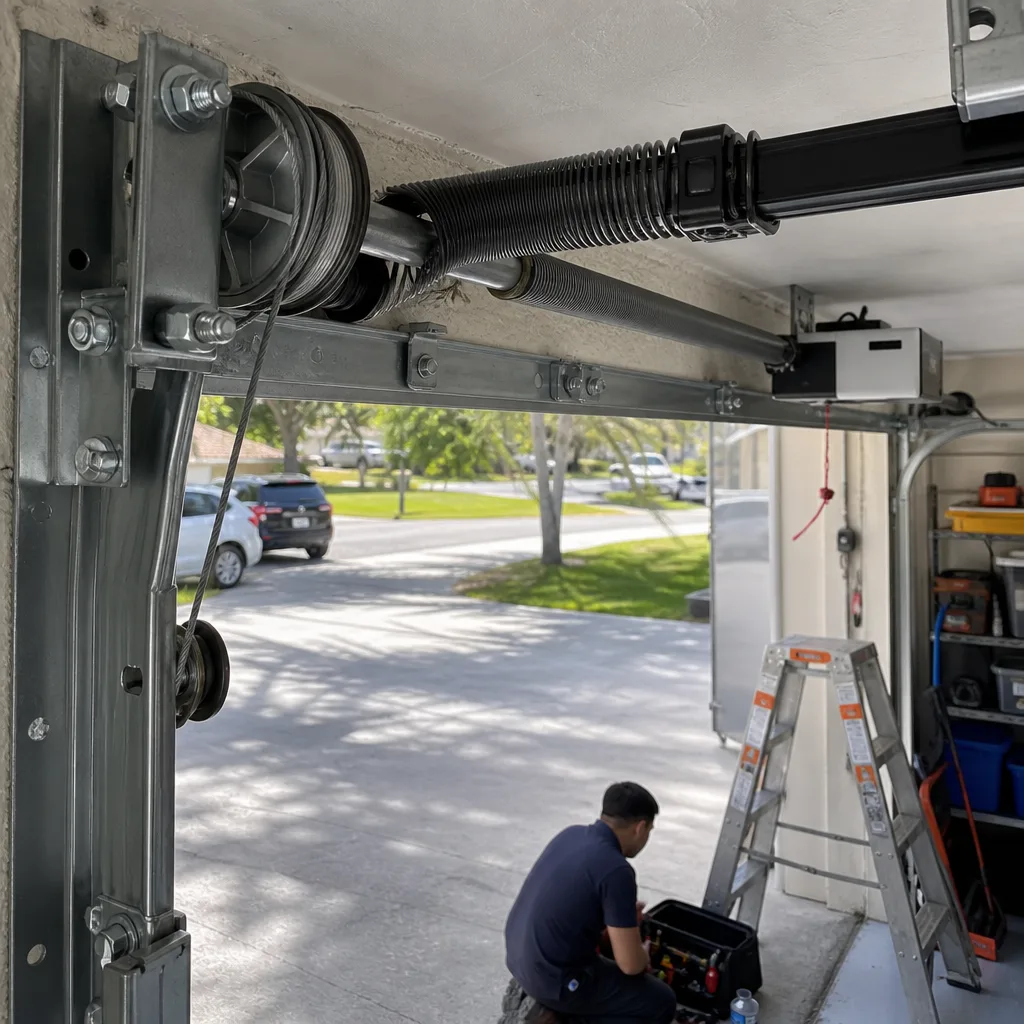 After
After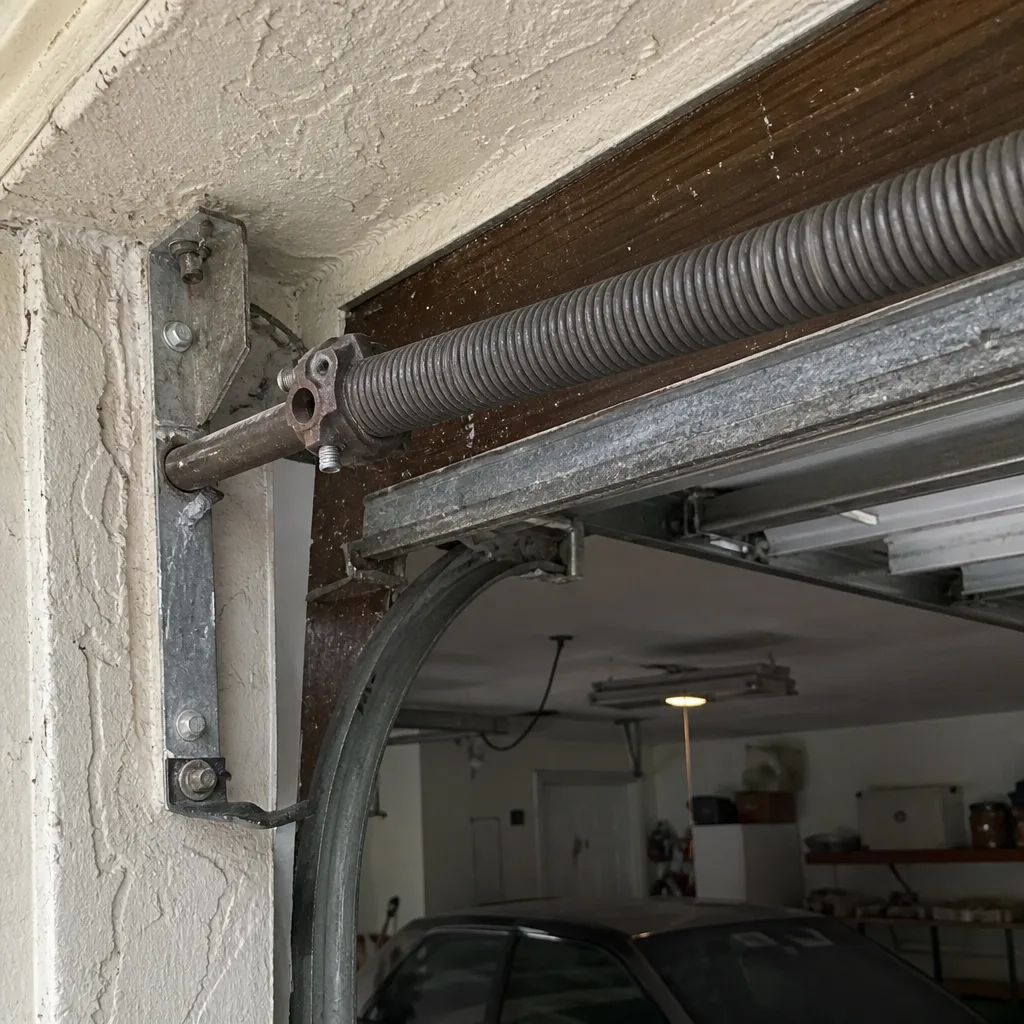 Before
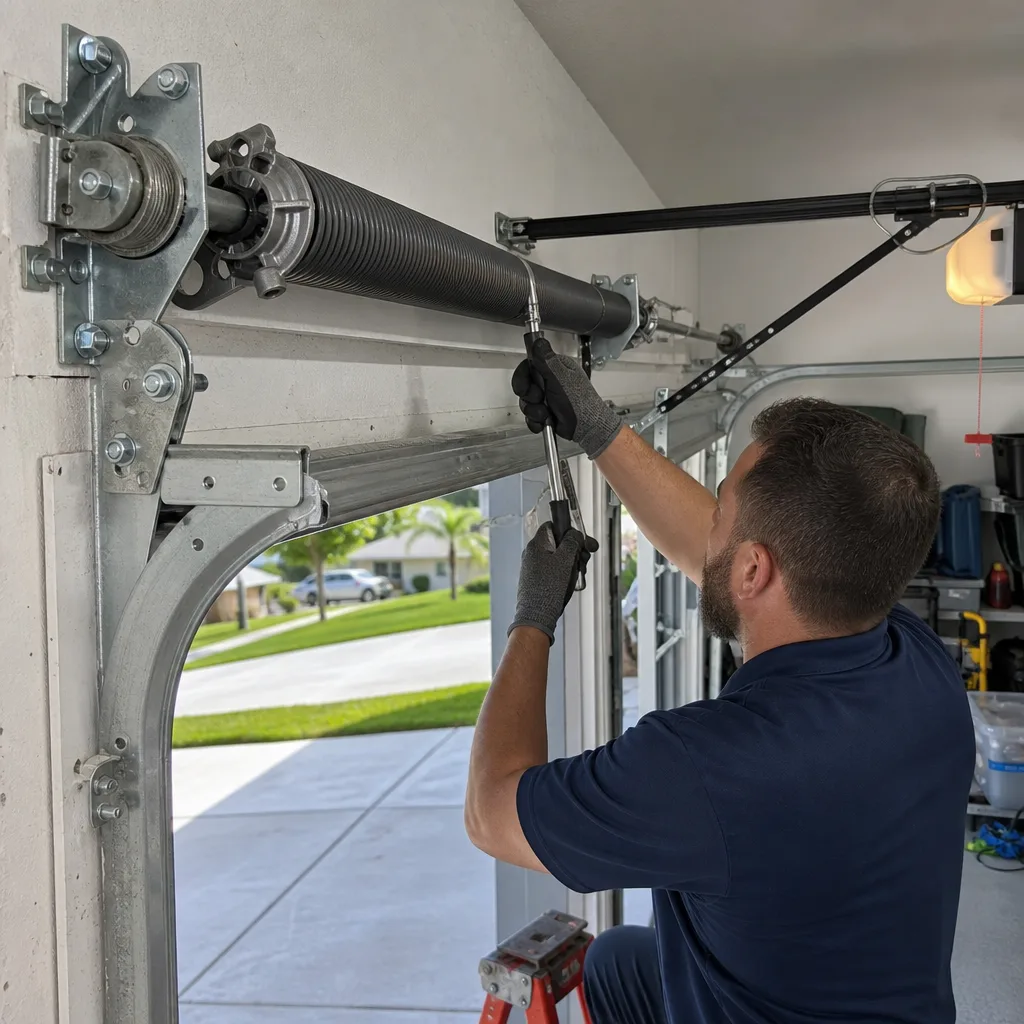 After
AfterGarage Door Repair Maintenance Checklist for Coral Springs Homeowners
A torsion spring rated for 10,000 cycles in a dry climate may deliver 6,000 in Coral Springs if the garage runs without ventilation, because heat cycling above 90°F degrades the temper of the steel. That’s not a manufacturer defect; it’s an unlisted local variable. Most maintenance checklists you’ll find online were written for annual use in temperate climates, which makes them nearly useless here. This guide replaces the generic advice with something specific: the part, the measurement, the pass/fail threshold, and the quarterly inspection rhythm Coral Springs actually demands.
Quick Answer
A Coral Springs garage door maintenance checklist should run quarterly, not annually, with two inspection tracks: what you can safely observe from ground level (bottom seal, rollers, balance, reversal test) and what a technician measures with tools (spring torque, cable tension, drum alignment). The four non-negotiable checks are the reversal test, visual spring inspection, bottom seal condition, and cable drum corrosion. Most components fail predictably in South Florida’s humidity and heat, and catching them before failure costs $100 to $300 versus $400 to $900 for emergency spring or cable replacement.
Table of Contents
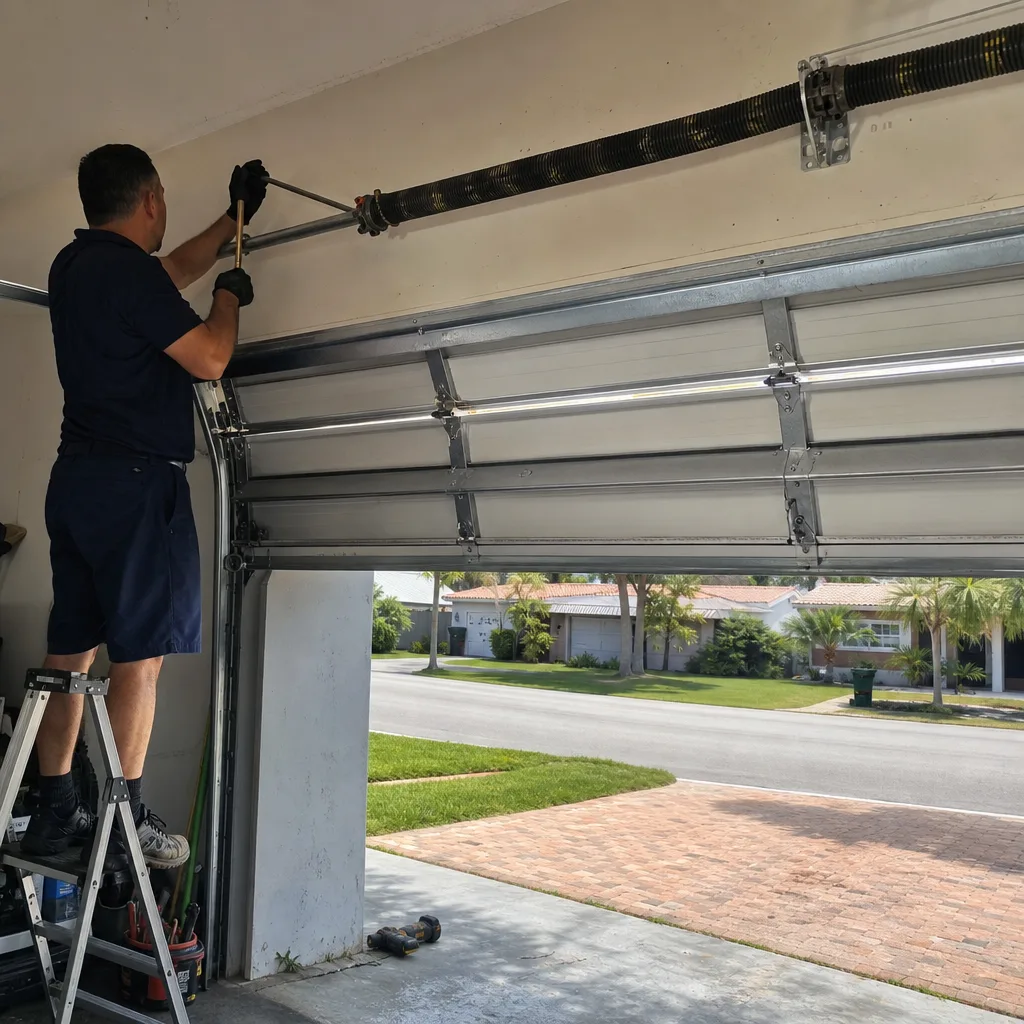
- Why Coral Springs Needs a Quarterly Cadence, Not an Annual One
- Spring Inspection: What to Look At, What to Leave Alone
- Bottom Seal and Weatherstrip: The UV Degradation Timeline
- Cable Drums, Winding Cones, and Corrosion Points
- The Opener Force-Limit Test: The One Check You Can’t Skip
- The Balance Test and What It Tells You About Spring Life
- What You Hear Matters: Noise Diagnostics by Component
- Common Mistakes to Avoid
- When to Call a Professional
- Frequently Asked Questions
- The Bottom Line
BeforeAfterWhy Coral Springs Needs a Quarterly Cadence, Not an Annual One
In a dry climate, an annual garage door inspection makes sense. Springs cycle at a predictable rate, corrosion moves slowly, and rubber seals last for years. Coral Springs operates under different rules. The combination of salt-adjacent air, summer humidity that routinely exceeds 80%, and garage temperatures that climb past 100°F from June through September accelerates every failure mode a garage door has.
Here’s the cadence we recommend, and the reasoning behind it:
- Post-hurricane-season check (November to December): Storm-driven debris, wind load stress, and sustained humidity expose spring surface rust and cable fraying that was invisible in August. This is the most important inspection of the year, and it lines up with the end of the Atlantic hurricane season on November 30.
- Mid-summer heat check (July): Heat cycling above 90°F changes how torsion springs behave. Steel expands, tolerances shift, and a spring that balanced the door in January may test differently in July. This is when we see the most balance-test failures.
- Post-dry-season check (April to May): The dry season’s lower humidity hides corrosion that becomes visible once moisture returns. Checking in late spring catches the early stages of cable surface rust before the rainy season turns it into structural weakness.
- After any severe thunderstorm or wind event: Coral Springs gets more than 130 days of measurable rain annually. Wind load on a 16-foot door is significant, and a single storm can knock a marginally adjusted track out of alignment.
We’ve worked on Garage Door Repair in Coral Springs long enough to see the pattern: doors that get quarterly attention rarely need emergency calls. Doors that get annual attention, or none, tend to fail at 9 p.m. on a Saturday in August, when the garage is 110°F and the spring has been telling you something for six months.
Spring Inspection: What to Look At, What to Leave Alone
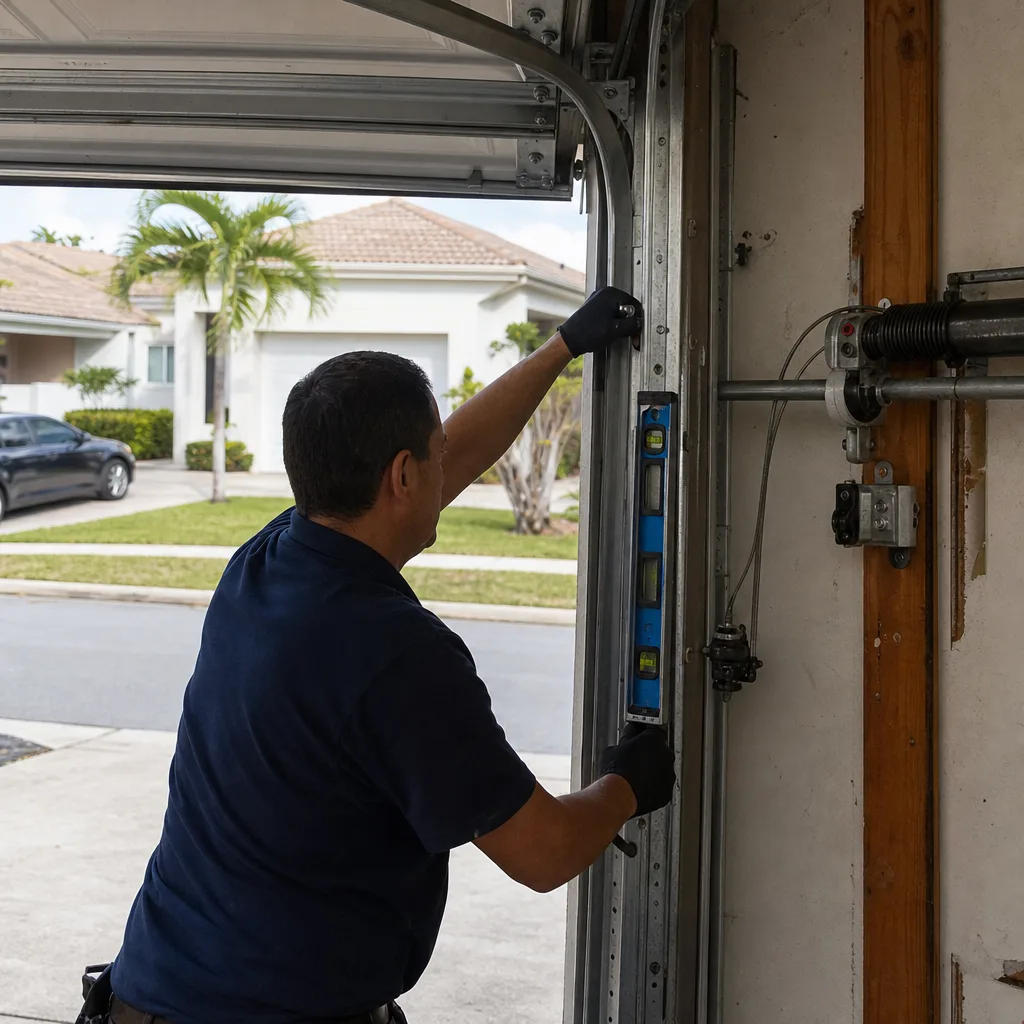
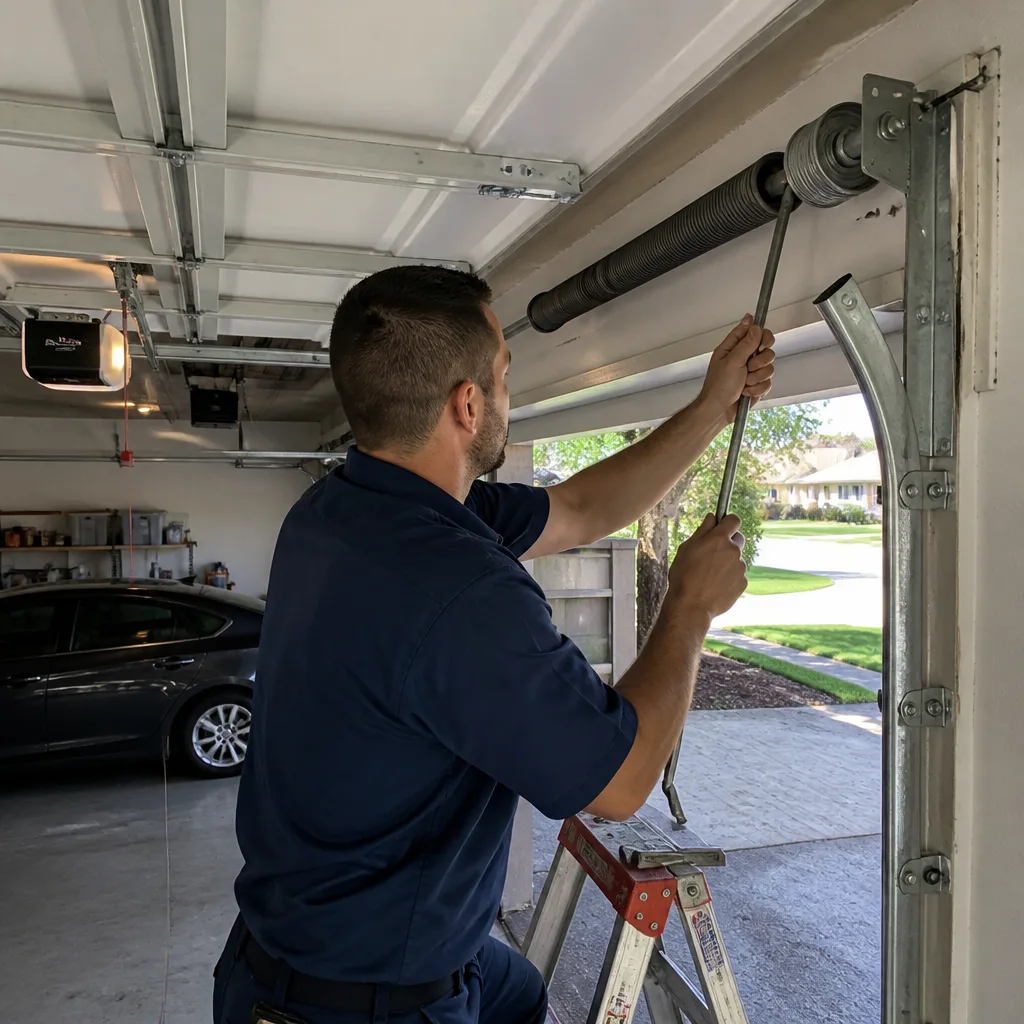
Torsion springs are the most dangerous component on your garage door. They hold hundreds of pounds of torque. When they fail, they fail violently. The inspection here is divided into two categories: what you can observe safely from ground level, and what a technician measures with tools. Do not cross that line.
What a homeowner can observe safely from the ground:
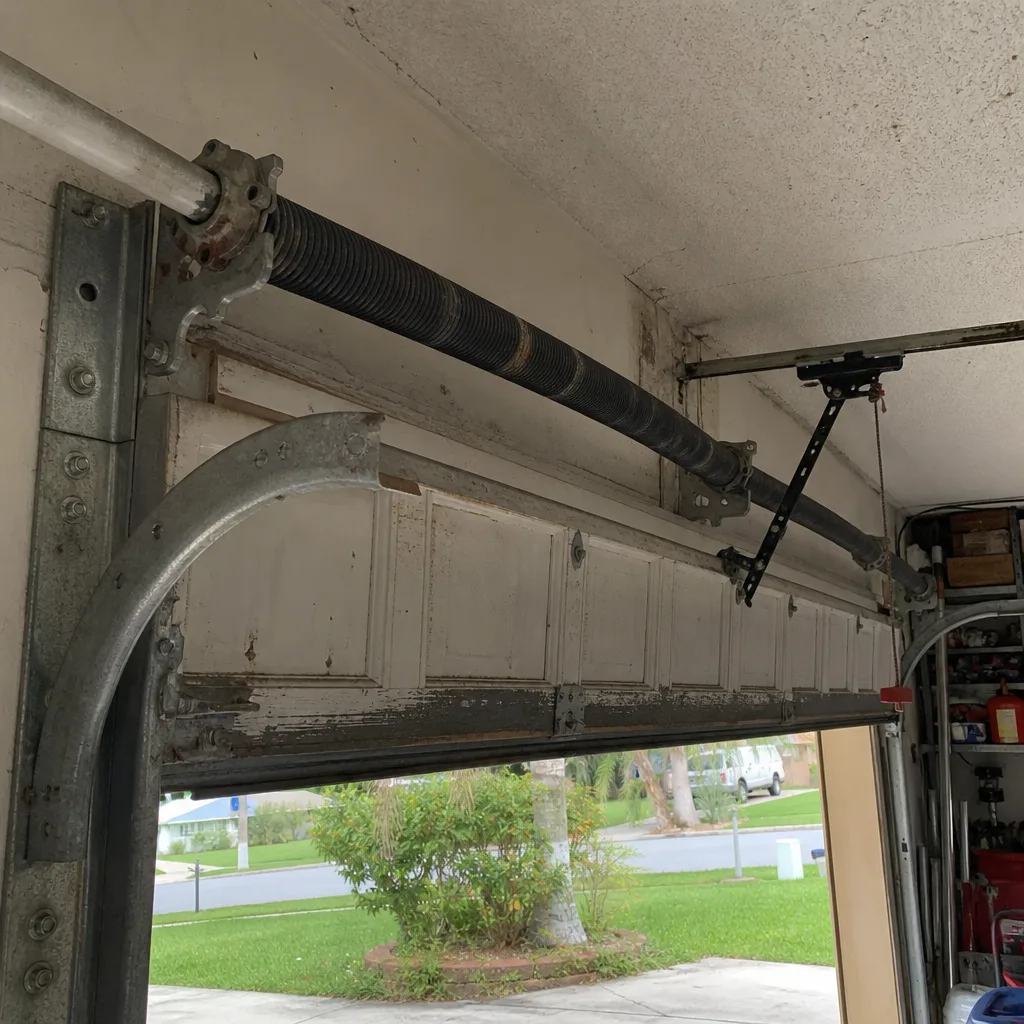
- Visible gap in the spring coil: A torsion spring that has snapped shows a clear separation, usually near the center. If you see a gap wider than the spring’s wire diameter, the spring has failed. Do not open the door manually. Call a professional.
- Surface rust on the spring body: Light surface rust is cosmetic. Deep rust that flakes or pits the steel is structural. Pitting creates stress risers, and stress risers are where springs break.
- Spring color codes: Most residential torsion springs have a painted stripe or cone marking that indicates wire gauge and diameter. Note the color; it helps a technician confirm whether a previous repair used the correct spring for the door’s weight.
- Center bearing bracket looseness: If the center bracket where the spring mounts has shifted or shows gaps at the fasteners, the spring assembly is moving under load. That’s a professional correction.
What a technician measures:
- Wire diameter with a caliper: A spring’s wire diameter determines its cycle rating. A 0.250-inch wire spring on a standard 16×7 door is rated for roughly 10,000 cycles. A 0.225-inch spring may be rated for under 5,000. If a previous install used undersized wire, the door will fail prematurely.
- Spring length under tension: Springs are measured uncoiled to confirm incorrect installation. A spring that measures short by even an inch can change the door’s balance by 20 pounds or more.
- Cycle count estimate: Your opener’s logic board tracks open/close cycles. A LiftMaster or Chamberlain unit stores this data, and a technician can read it. Two cycles per day times seven years equals roughly 5,100 cycles, close to the limit of a 10,000-cycle spring that’s degraded by heat.
One thing to understand clearly: torsion springs store energy even when the door is fully open. The winding cone holds the spring under tension, and the hardware securing that cone is under constant load. Never attempt to adjust, replace, or inspect a torsion spring up close. The inspection points above are the safe limit from ground level.
Our approach follows a founding rule at Servo: the customer sees photographic evidence of a failed spring before anyone quotes a replacement. Clause 4 of The Haven Standard requires it. If a technician tells you a spring is broken and can’t show you a photo, get a second opinion.
Bottom Seal and Weatherstrip: The UV Degradation Timeline
South Florida UV exposure kills rubber. A bottom seal that lasts five years in Chicago lasts two to three in Coral Springs, depending on the door’s orientation. West-facing garage doors take the worst of it, with direct afternoon sun baking the seal.
Here’s the degradation timeline we see on weather seals in this area:
- Year 1: Seal remains pliable. Edges may show slight discoloration. Function is normal.
- Year 2: Seal begins to stiffen. Corners where the seal wraps the door panel start to crack. Air gaps appear at the door corners.
- Year 3: Seal is visibly brittle. It no longer compresses evenly against the garage floor. Water intrusion becomes visible during heavy rain. The seal should be replaced at this point, not inspected again.
Replacement cost for a bottom seal in Coral Springs runs $85 to $160 installed, depending on door width and seal type. That’s significantly less than the water damage a failed seal can cause to garage contents, drywall, or stored items during a summer thunderstorm.
The test that takes 30 seconds:
- Close the garage door completely.
- Walk to the inside of the door and look along the bottom edge for daylight.
- If you see light anywhere, the seal has gaps. Those gaps admit water, insects, and conditioned air.
- Press the seal with your thumb. It should compress and spring back. If it’s hard or crumbles at the edges, it’s done.
Side and top weatherstrip follows a similar timeline but degrades more slowly because it’s not in contact with the floor. Inspect side seals quarterly for tears, especially at the bottom corners where the door’s edge seals meet the bottom weatherstrip.
Cable Drums, Winding Cones, and Corrosion Points
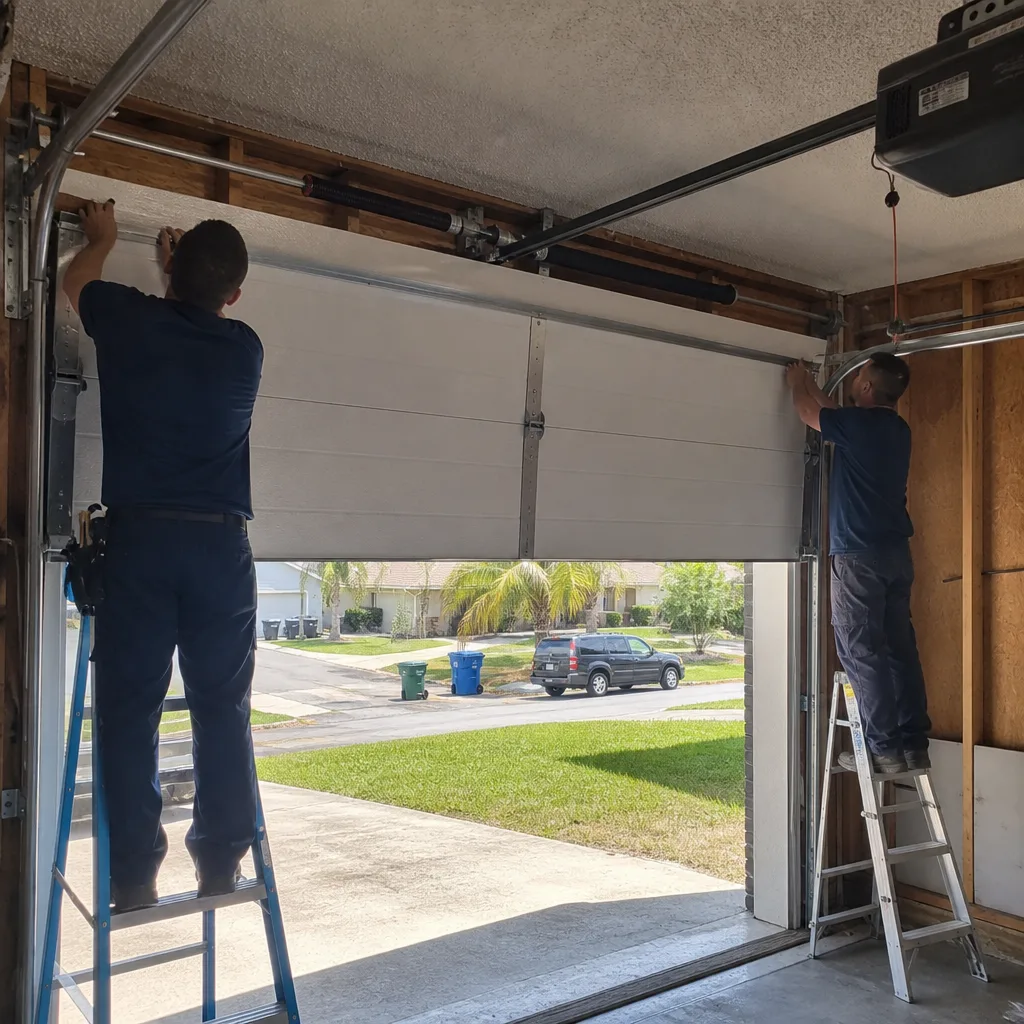
The lift cables on your garage door are high-tension steel. They wrap around a drum at each end of the torsion bar and connect to the bottom brackets of the door. When a cable frays or a drum wears, the door can drop without warning, and that’s a serious injury risk.
What to check:
- Cable surface condition: Look at the exposed portion of cable above the drum. Surface rust is common in Coral Springs garages that aren’t climate controlled. Light orange dust is the early stage. Visible fraying, with individual wires separating, is failure.
- Cable drum seating: The cable should wrap evenly in the drum’s groove. If it’s overlapping itself or sitting outside the groove, the drum is misaligned or the cable has stretched.
- Winding cone fasteners: Two set screws secure each winding cone to the shaft. If they’ve backed out, you’ll see a visible gap between the cone and the set screw. This is a professional adjustment. Do not tighten these yourself.
- Bottom bracket condition: The cable attaches to a bracket at each bottom corner of the door. If that bracket shows rust, cracking, or shifted fasteners, it’s a replacement.
One point worth making clearly: cable and drum inspection is visual from the ground. If you see fraying on a cable, do not cycle the door. A frayed cable can snap under load, and the released energy whips through the garage. This is one of the most dangerous failure modes on a garage door system.
This is where the photograph-first protocol matters. When we inspect cables and drums on a garage door opener or cable job, the customer receives a documented photo record of what we found. If a cable is frayed, you see the fray. If a drum is seating incorrectly, you see the misalignment. You don’t take our word for it; you look at the evidence.
The Opener Force-Limit Test: The One Check You Can’t Skip
Every automatic garage door opener sold in the United States since 1993 includes an auto-reverse function, required by federal regulation. The door must reverse when it encounters a 1.5-inch-high solid object placed in its path, or when it meets resistance equivalent to a 2×4 laid flat. This is a safety standard, not a recommendation, and most doors in Coral Springs have never been tested since installation.
The test, step by step:
- Place a 2×4 piece of lumber flat on the ground directly under the center of the door’s path.
- Close the door using the opener.
- The door should contact the 2×4 and reverse direction within two seconds of contact.
- If the door continues down and compresses the wood, the force limit is set too high. The opener needs adjustment.
- Repeat the test using a smaller object, like an empty soda can, at the center and at the door’s edge. The door should reverse on contact with both.
If your door fails this test, the opener’s force setting is too aggressive, meaning it may not reverse for a child or pet. This is not a minor issue. The adjustment typically involves a dial or button on the opener unit, and for most homeowners, it’s a 10-minute fix with a professional. LiftMaster, Chamberlain, Genie, and Craftsman openers all have the adjustment mechanism accessible on the powerhead.
The force-limit check also diagnoses other problems. A door that fails the reversal test may have a balance issue, a worn gear in the opener, or a misaligned photo eye. Testing the reversal tells you the symptom; a technician’s diagnostic identifies the cause. We perform this test on every opener service call, and the result goes in the photo record.
The Balance Test and What It Tells You About Spring Life
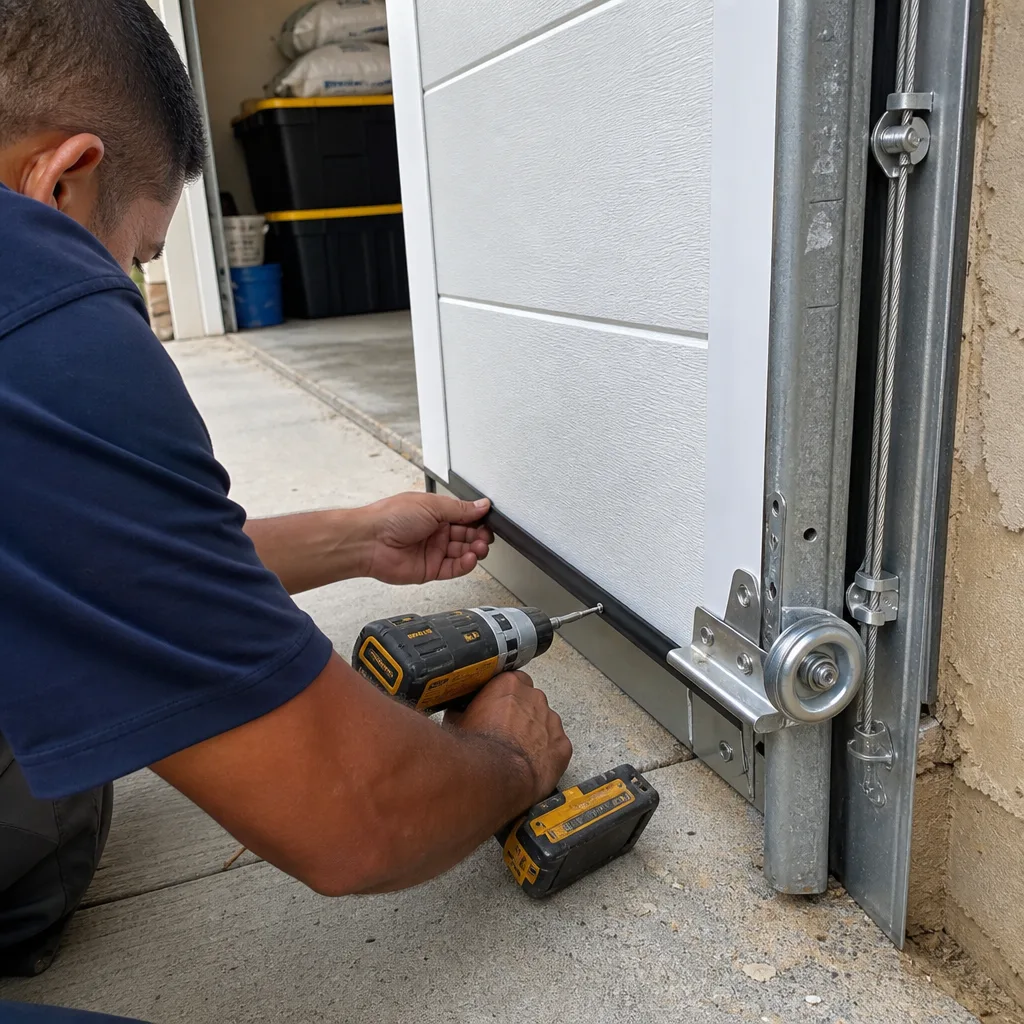
A properly balanced garage door stays at rest about three to four feet off the floor when opened manually. This is the single most informative test for spring health, because it reveals torque degradation before the spring actually breaks.
How to run the balance test:
- Pull the red emergency release cord on the opener to disconnect the door from the rail.
- Lift the door manually to about waist height, roughly three to four feet off the ground.
- Let go. The door should stay in place, dropping no more than a few inches.
- Raise the door fully and lower it fully. Both movements should feel smooth, with even resistance throughout the travel.
- If the door drops quickly from the half-open position, the springs have lost tension or are nearing the end of their service life.
In Coral Springs, heat cycling accelerates this loss. A spring that balanced the door perfectly six months ago may drift during summer as the garage temperature swings from 78°F in the morning to 105°F in the afternoon. The steel expands and contracts daily, and the temper of the steel slowly changes. A door that fails the balance test in July may pass it again in January, when cooler temperatures return the spring to its original performance range. That doesn’t mean the problem went away. It means the spring is operating at the margin.
If your door fails the balance test, you’re looking at spring replacement in the $180 to $340 range for a standard double torsion spring set in Coral Springs, depending on wire gauge and cycle rating. Waiting until the spring snaps costs more, because a snapped spring often damages the door panels or pulls the cable off the drum, adding $50 to $150 in secondary repairs.
What You Hear Matters: Noise Diagnostics by Component
Your garage door makes noise. Some of it is normal, and some of it is the door telling you what’s about to fail. Learning the difference is one of the most useful maintenance skills a Coral Springs homeowner can develop, because the humidity and temperature swings here change how each component sounds.
- Rattling from the door panels: Loose hinge screws or worn hinge bushings. Tightening is a homeowner fix; replacing worn hinges is a quick professional job.
- Grinding from the opener: The gear inside the opener head is stripping. This is common on openers older than seven years in Coral Springs, where heat accelerates plastic gear wear. The gear itself is a $20 part, but replacement requires opening the powerhead, which most homeowners should leave to a technician.
- Squealing from the torsion bar area: Dry bearings at the center bracket or end brackets. A technician applies a specific lubricant to the bearings and hinge points. Do not spray the spring itself; the coils are under tension and lubricant can cause the spring to slip on the winding cone.
- Popping or banging during operation: The cable is slipping on the drum, or a roller is binding in the track. This is a stop-using-the-door situation. Call a professional.
- Humming from the opener without door movement: The opener motor is running but the trolley carriage isn’t engaging the rail. This is a stripped carriage, a broken belt or chain, or a failed logic board. A technician can diagnose which one in minutes.
A Raynor or Clopay door should not sound dramatically different than a Wayne Dalton or Amarr. The door brand matters less than the opener brand and the age of the rollers. Nylon rollers run quieter than steel and last longer, and they’re a common upgrade when we service older doors in Coral Springs neighborhoods like Cypress Run, Heron Bay, and the Dells.
Common Mistakes to Avoid
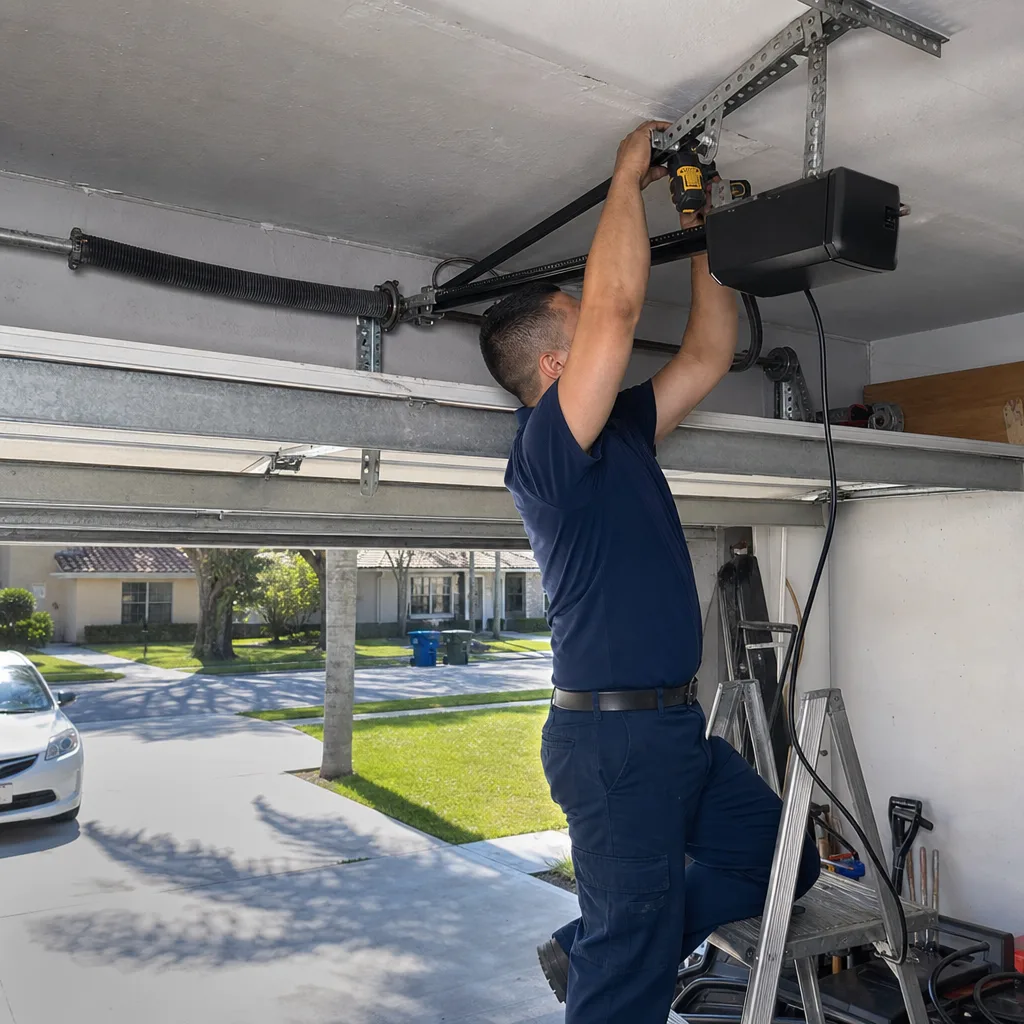
- Lubricating the torsion spring with WD-40. WD-40 is a solvent, not a lubricant. It strips protective coating and accelerates corrosion. Use lithium grease on hinges and rollers only, and never on the spring coils.
- Ignoring a slowly moving door. A door that takes noticeably longer to open or close is telling you the opener gear is stripping or the springs are losing torque. Waiting until it stops completely costs more.
- Replacing only one spring when both are the same age. Torsion springs have a matched service life. If one breaks at 9,000 cycles, the other is close behind. Replacing both costs $180 to $340 total; replacing one now and the other in two months means paying the labor twice.
- Using the door manually after a spring breaks. A 16-foot steel door without spring assistance weighs 150 to 250 pounds. Lifting it manually strains the opener, the cables, and your back. Disconnect and leave it closed.
- Painting over surface rust without addressing the cause. Garage humidity is the cause. Paint seals in moisture and covers the warning sign. Ventilate the garage, address drainage, and replace the affected component if rust has penetrated.
- Skipping the photo eye alignment after bumping a track. A car bumper or a ladder can knock a photo eye sensor out of alignment. When the sensors misalign, the door refuses to close, and many homeowners mistakenly assume the opener has failed. Alignment is a two-minute fix.
- Setting the force limit too high because the door “needs more power.” The force limit exists to protect people. If the door requires excessive force to close, the problem is balance or track friction, not the limit setting. Crank the adjustment and you’ve disabled a federal safety requirement.
When to Call a Professional
Call a professional when the problem involves a component under high tension: torsion springs, lift cables, and the winding cone hardware. This is not a matter of skill; it’s a matter of stored energy. A torsion spring under load can release with enough force to cause serious injury or death. Call a professional when the reversal test fails, when the door visibly sags on one side, when a cable shows fraying, or when the opener hums without moving the door. These are not DIY scenarios. Servo Garage Doors Coral Springs offers free estimates in Coral Springs, and every job includes a written price and scope before work starts. Call (754) 399-3666.
Frequently Asked Questions
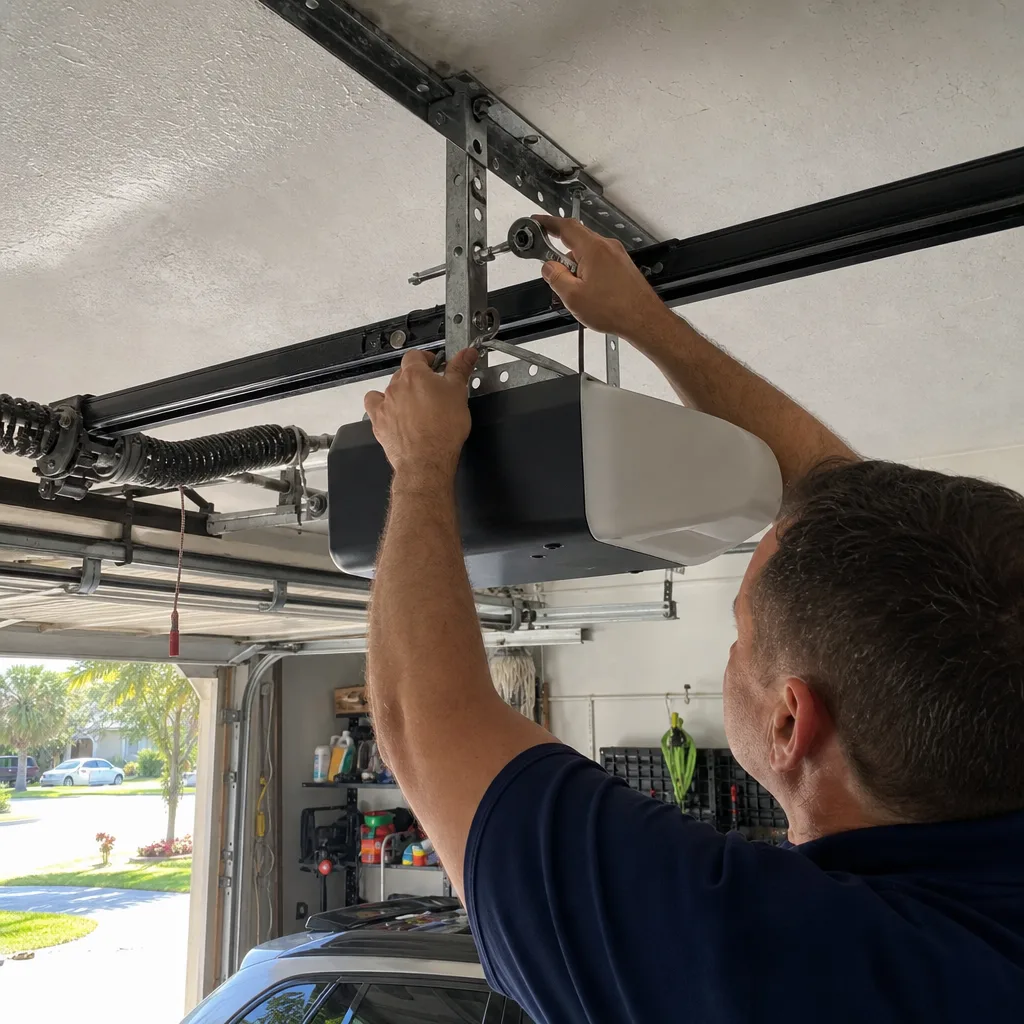
Every three months. Coral Springs demands a quarterly inspection rhythm because the heat, humidity, and storm season accelerate spring fatigue, cable corrosion, and seal degradation. If you insist on annual checks, do them in November after hurricane season ends.
A full maintenance visit typically runs $95 to $185, and it includes lubrication, balance testing, reversal testing, hardware inspection, and a written condition report. Component replacement is quoted separately before any work begins. Call (754) 399-3666 for an exact quote.
You can observe from the ground: look for a visible gap in the coil, surface rust, or a shifted center bracket. You cannot safely adjust, measure, or replace torsion springs, which hold hundreds of pounds of torque. Spring work is a professional job.
Heat cycling above 90°F temporarily changes the spring’s performance, because the steel expands and the temper degrades. If the door passes in January and fails in July, the spring is nearing the end of its service life and should be replaced before it breaks.
Spring replacement in Coral Springs typically costs $180 to $340 for a standard double torsion spring set, installed, with parts and labor included in a written price. The exact price depends on wire gauge, cycle rating, and door weight. A written quote is provided before any work starts.
Two to three years under direct South Florida sun. West-facing doors in Coral Springs degrade fastest, and the seal should be replaced when it loses pliability or shows light through the corners, not when it visibly fails.
Yes. Every Servo visit includes a documented photo record of what we found and what we did, including photos of the failed component. This is Clause 4 of The Haven Standard and traces back to our founding rule from 2015: the customer sees the failed part before anyone quotes a replacement.
Yes. We answer calls live 24 hours a day, seven days a week, including holidays. An emergency call gets a named technician and an on-the-way text, not a callback window. Call (754) 399-3666 and a real person answers.
The Bottom Line
Coral Springs garage doors fail differently than garage doors in drier climates, and the maintenance schedule should reflect that. Quarterly inspections catch spring fatigue, cable corrosion, and seal degradation before they become breakdowns. The reversal test and balance test are the two most important homeowner checks, and they take under five minutes combined. When a component needs replacement, get a written price before the work starts and a photo record when it’s done. The goal of maintenance is not extending the door’s life indefinitely; it’s knowing what’s about to fail, what it costs to fix, and having the documentation to make the decision without pressure. Servo Garage Doors Coral Springs follows that model on every job, with a flat written price before work begins and a documented photo record at the end. Call (754) 399-3666 to schedule a maintenance visit or discuss a Garage Door Installation in Coral Springs.
Written by Marcus Deller, Owner at Servo Garage Doors Coral Springs, serving Coral Springs since 2015.
Written by Marcus Deller, Owner at Servo Garage Doors Coral Springs, serving Coral Springs since 2015.
Written by Marcus Deller, Owner at Servo Garage Doors Coral Springs, serving Coral Springs since 2015.